Easy Fudge Video Recipe
Easy Fudge Video Recipe
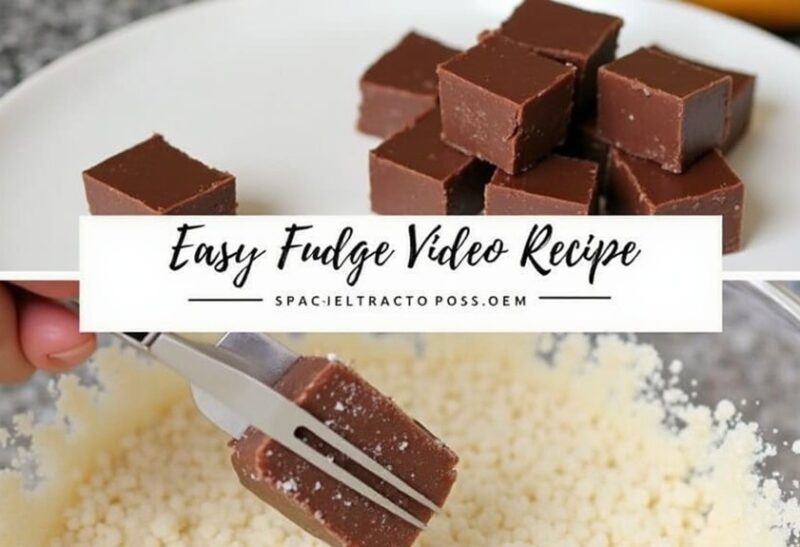
You wouldn’t believe it, but just as you were thinking about making fudge, a simple recipe popped up on your feed. This “Easy Fudge Video Recipe” showcases how effortless it can be to whip up a batch with just a few ingredients and minimal time spent. You’re probably wondering about the best techniques to guarantee your fudge comes out perfectly creamy, right? The video offers insights on common pitfalls and even ways to personalize your fudge that you might not have considered yet. Stay tuned; there’s a lot more to uncover that could enhance your dessert game.
Key Takeaways
- Start by gathering all ingredients: chocolate chips, sweetened condensed milk, butter, and vanilla, for a smooth and flavorful fudge.
- Choose between microwave or stovetop methods, ensuring to control the temperature during cooking for the best texture.
- Use a lined and greased baking dish to evenly spread the fudge mixture for proper setting.
- Allow the fudge to chill in the refrigerator for 1-2 hours to achieve the desired firmness.
- Store the finished fudge in an airtight container with wax paper layers for longer freshness.
History
Fudge has a rich history that’s steeped in various origins, with stories popping up that claim different beginnings. You might be surprised to learn that multiple theories exist regarding its creation. Here are some key points to reflect upon:
-
College Students: One tale suggests that American college students invented fudge in the late 1800s, likely experimenting with sugar and milk during their studies.
-
New England Connection: Another story attributes the creation to Elizabeth LeRoy, a woman from New England, who also crafted fudge around the same period.
-
Immigrant Influence: Irish and Scottish immigrants may have introduced fudge to the United States, bringing traditional recipes that laid the groundwork for what we enjoy today.
In 1888, fudge made its first recorded appearance in a store in Baltimore, Maryland. Quickly gaining popularity, it spread throughout the United States and became a staple in candy shops. The importance of temperature control during the fudge-making process has been recognized since its early days, contributing to the beloved treat’s rich texture and flavor.
By the early 1900s, it became a favored treat for tourists at seaside resorts, cementing its status as an American dessert. Today, fudge continues to thrive, celebrated for its delicious simplicity and endless variations.
Its rich history has left a lasting impact on candy-making traditions.
Recipe
Easy Fudge Recipe
Fudge is a delicious treat that brings a rich, creamy sweetness to any occasion. Whether you’re making it for a holiday celebration, a family gathering, or simply to enjoy at home, the process can be simple and rewarding. You can choose between the microwave or stovetop method, both of which yield similarly indulgent results. The humidity levels in the environment can significantly affect the fudge texture, so it’s best to avoid making fudge on humid days.
The versatility of fudge allows you to customize it with various flavors, textures, and mix-ins, so feel free to get creative!
Start by preparing your workspace and gathering all the ingredients needed for this easy fudge recipe. You’ll be pleasantly surprised by how quickly you can whip up a batch, making it perfect for a last-minute dessert or gift. With just a few simple steps and some time to chill, you’ll be ready to indulge in rich, chocolaty goodness.
Ingredients:
– 2 cups semi-sweet chocolate chips
– 1 can (14 ounces) sweetened condensed milk
– 2 tablespoons butter
– 1 teaspoon vanilla extract
– Optional add-ins (nuts, mini M&M’s, etc.)
Instructions:
Depending on your preferred cooking method, either microwave or stovetop, start by preparing an 8X8 or 9X9-inch baking dish by lining it with foil and greasing it lightly.
For microwave preparation, combine chocolate chips, sweetened condensed milk, and butter in a microwave-safe bowl and heat in 45-second intervals, stirring in between until melted and smooth. Stir in vanilla extract and any optional add-ins before pouring the mixture into the prepared pan to spread uniformly.
For stovetop, mix the same ingredients in a saucepan over low heat, stirring continuously until melted, then remove from heat to add vanilla and optional ingredients. Once uniformly spread in the baking dish, refrigerate the fudge for 1-2 hours until set.
Tips:
To achieve the best texture and flavor, remember to stir the mixture vigorously after melting to make sure everything is well combined.
If using peanut butter, consider reducing the butter to avoid a greasy texture. Additionally, allowing the fudge to chill adequately will improve its firmness and flavor.
Store the finished fudge in an airtight container layered with wax paper to keep it fresh for longer. Enjoy experimenting with different mix-ins to create your perfect fudge!
Final Thoughts
Creating homemade fudge is a rewarding experience that lets you personalize a classic treat. As you begin this journey, remember a few key points for success:
-
Temperature Control: Smooth and creamy fudge requires precise temperature management. While the microwave offers convenience, the stovetop method allows for better control.
-
Quality Ingredients: Utilize high-quality chocolate and sweetened condensed milk for the best results. Additionally, you can enhance your fudge by using high-quality chocolate instead of standard options.
-
Consistent Stirring: Stir the mixture thoroughly to achieve that desired smooth texture.
-
Cooling: Proper cooling is essential; it allows the fudge to set correctly.
Be mindful of common pitfalls:
-
Overcooking: This leads to hard fudge.
-
Undercooking: A soft, sticky result can occur.
-
Pan Preparation: Always use a lined pan to prevent sticking.
Experiment with variations to improve flavors:
-
Incorporate nuts or extracts for new profiles.
-
Try white chocolate for lighter fudge.
-
Add peppermint extract for a revitalizing twist.
Lastly, practice precision in measurements and timing. Utilize a thermometer for ideal results. With careful preparation and attention to detail, your homemade fudge can become a delightful treat that impresses friends and family alike.
FAQ
When you plunge into making homemade fudge, questions can pop up along the way, especially if you’re new to the process. Here are some frequently asked questions that may help.
What causes incorrect texture?
- If your fudge is too soft or too dense, it’s often due to improper heating. Pay attention to the cooking temperature. Additionally, ensure you use the right 9×9 baking pan for optimal fudge size.
Why does my fudge have a grainy texture?
- Sugar crystallization occurs if it’s not heated correctly. Aim for the ideal temperature of 235-237°F using a candy thermometer.
How can I avoid overheating?
- To prevent your fudge from becoming too hard, monitor it closely. Use intervals of 30 seconds when melting in the microwave.
What if my fudge doesn’t set?
- Underheating is often the culprit. Verify it reaches the right temperature and cools slowly to stabilize.
Can I store fudge?
- Yes, storing fudge in the fridge helps it maintain texture. Just remember to line your pan with parchment paper for easy removal. It’s also helpful to place the fudge in an airtight container to keep it fresh longer.